
How to Organize a Kitchen Drawer That's Always a Mess (No Tools Needed)
Tired of digging through a jam-packed kitchen drawer? Clara Hayes shares a 15-minute, zero-tool system to declutter and organize messy utensil and junk drawers for good.

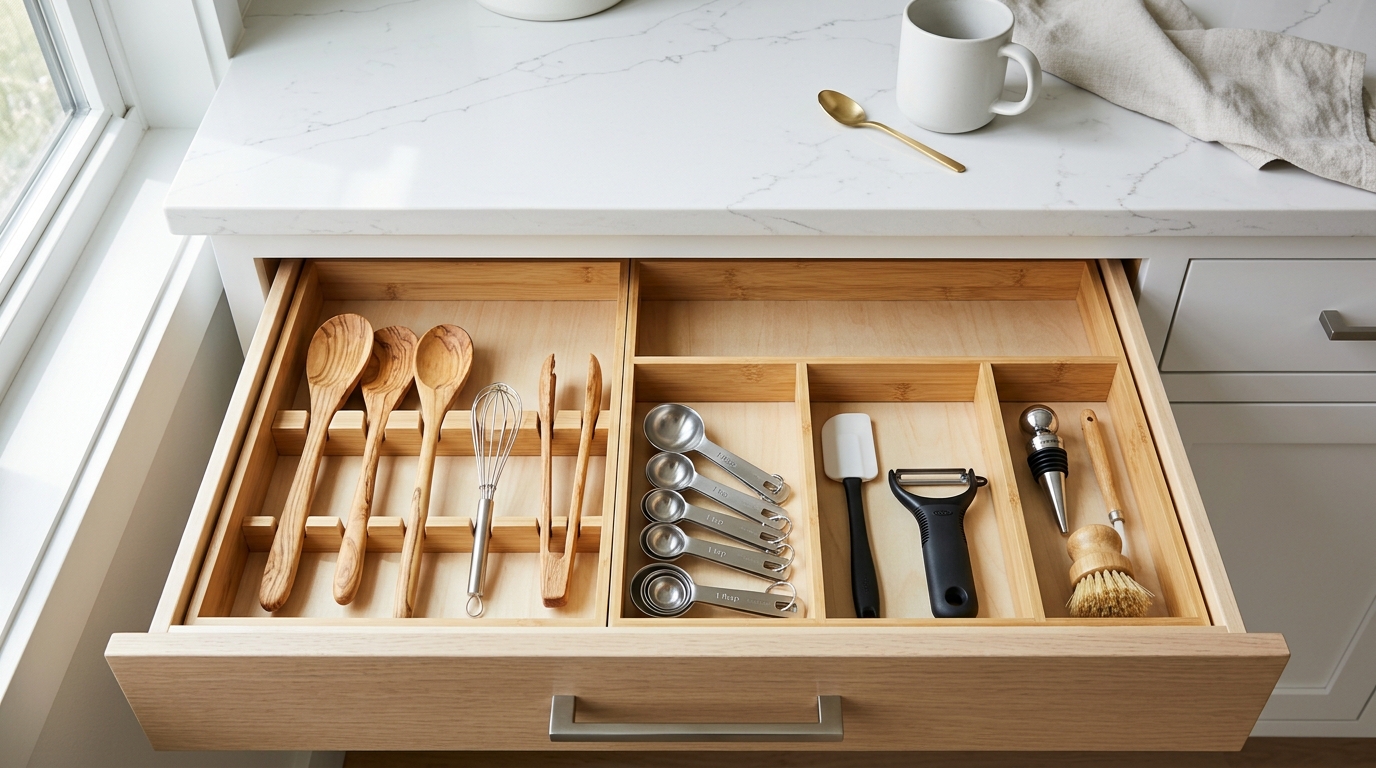
Almost every kitchen in the world has that one drawer. You know the one: you pull the handle with one hand, it moves two inches, and then jams aggressively against a rogue potato masher or an oversized ladle. You give it a frustrated shake, hear metal rattling against wood, and spend the next two minutes blindly fishing through an entangled mountain of measuring spoons, melon ballers, wine stoppers, and rubber bands just to find a single vegetable peeler.
When cooking dinner on a busy Tuesday evening, a messy kitchen drawer is not just a nuisance—it is constant low-grade cognitive friction. It slows down meal prep, damages delicate culinary tools, and chips away at the calm atmosphere of your home.
The good news? You do not need power tools, custom carpentry, or a \$200 professional organizer visit to fix it. With a straightforward 15-minute blueprint and a few modular, renter-friendly dividers, you can permanently transform your most chaotic kitchen drawer into an effortless, serene culinary station.
• Ruthlessly separate daily primary tools (used 5+ times a week) from secondary specialized gadgets (used monthly).
• Ditch rigid 1-piece cutlery trays; customizable interlocking modular bins allow you to utilize every millimeter without dead perimeter gaps.
• Lay down a ribbed silicone non-slip drawer liner to prevent organizers from sliding backwards every time the drawer shuts.
• Respect the '80% Capacity Law': keeping 20% open breathing room ensures every utensil can be retrieved with one hand without snagging.
Step 1: The 5-Minute 'Blank Slate' Dump & Purge
The number one mistake people make when organizing kitchen drawers is buying containers first and trying to organize on the fly. That approach always fails.
The Complete Countertop Extraction
Now, act as an uncompromising curator. Sort everything into three immediate piles:
- Keep (Daily Heavy Hitters): The silicone spatula you reach for daily, your favorite wooden tasting spoon, your reliable stainless steel peeler, measuring spoons, and a sharp pair of kitchen shears.
- Relocate (Bulky & Occasional): The giant potato masher, rolling pin, turkey baster, and hand mixer attachments. These belong in a deep lower cabinet bin or an upright ceramic countertop utensil crock—not crowding prime real estate in your top prep drawer.
- Toss / Donate: Melted plastic spatulas, duplicate can openers that barely cut, warped takeout chopsticks, loose dried-out soy sauce packets, and broken novelty gadgets. Be honest with yourself: if you haven't used it in six months, it doesn't earn a spot in your top drawer.
Step 2: Clean the Cavity & Lay a Non-Slip Silicone Liner
Once empty, you will likely discover a graveyard of breadcrumbs, dried spice dust, and stray twist-ties in the back corners. Vacuum the drawer interior using a crevice attachment, then wipe down the base and sides with a damp microfiber cloth and gentle Castile soap. Dry thoroughly.
Step 3: Modular Interlocking Bins Beat One-Piece Trays Every Time
Traditional one-piece plastic cutlery trays look tidy in store displays, but in real homes they are deeply flawed. Standard drawer cavities vary widely in width and depth; a rigid one-piece insert leaves awkward 2-inch dead zones along the sides where spatulas get lost and jam the drawer glide.
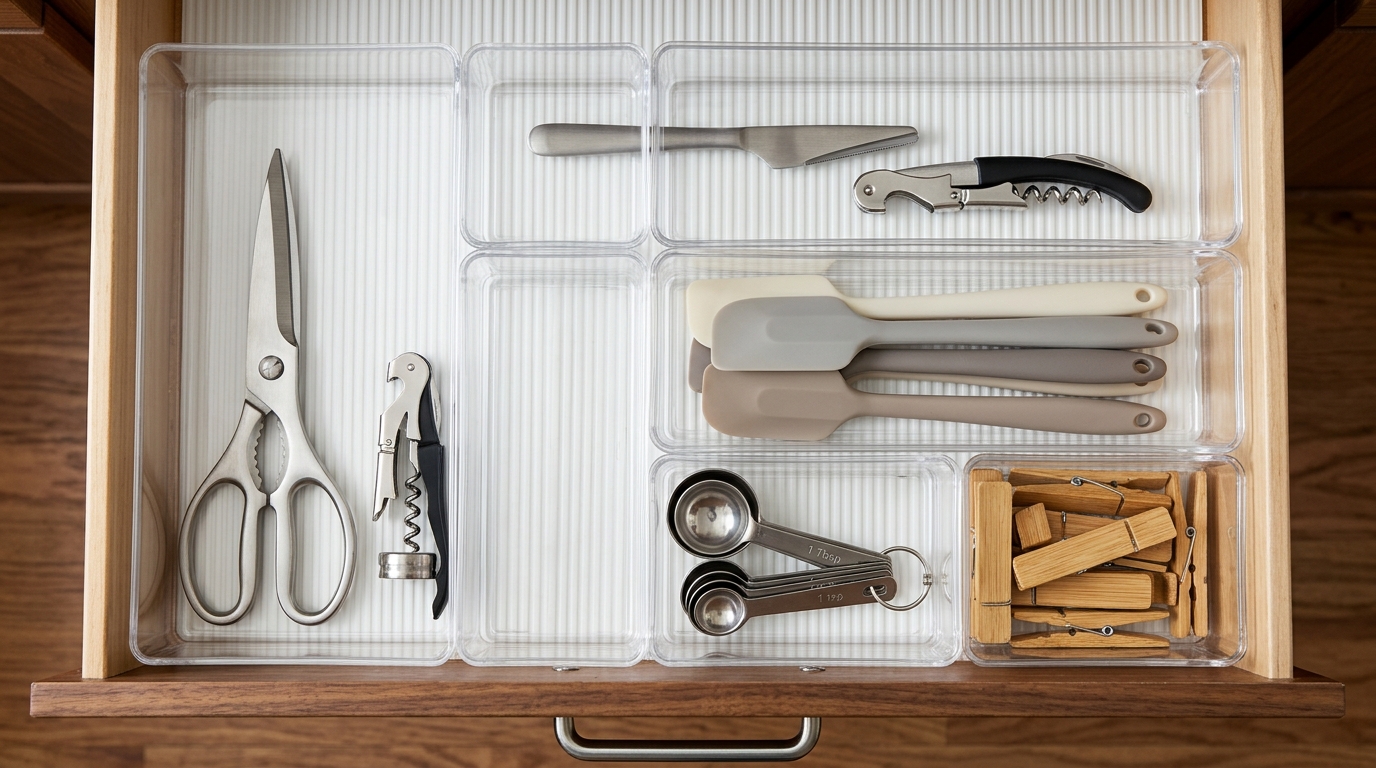
Instead, purchase a pack of individual modular bins in varied geometric sizes (3x6", 3x9", 3x12", and 6x9") made from clear BPA-free acrylic or natural bamboo. Play a quick game of 'drawer Tetris' before putting items back:
- Place long 12-inch compartments along the left or right edge for spatulas, tongs, and wooden spoons.
- Use slim 3x9-inch bins in the center for measuring spoons, peelers, and wine corkscrews.
- Reserve small square 3x3-inch or 3x6-inch bins in the front right corner for micro-items: corn cob holders, bottle stoppers, and chip clips.
Step 4: Group by Culinary Kinship (The 4 Functional Zones)
Instead of tossing tools into random bins, organize according to culinary workflow so your muscle memory takes over while cooking:
- Zone A: The Prep Station (Front & Center): Vegetable peeler, microplane zester, kitchen scissors, garlic press. You reach for these before the stove is even turned on.
- Zone B: Heat & Stir (Front Left): Heat-resistant silicone spatulas, wooden tasting spoons, silicone-tipped tongs. Place these closest to your dominant hand.
- Zone C: Baking & Seasoning (Right Flank): Complete sets of measuring spoons (nested or snapped together), instant-read meat thermometer, mini silicone pastry brush.
- Zone D: Utility & Wine (Back Row): Waiter's corkscrew, stainless wine stoppers, can opener, bag clips. Items you need occasionally sit quietly in the back tier.
Step 5: Enforce the '80% Capacity Law'
The single reason organized drawers revert to chaos within two weeks is overcrowding. When a drawer is filled to 100% capacity, pulling out one spoon pulls three others with it, immediately breaking the category boundaries.
Commit to the 80% Law: every bin should contain a single layer of utensils with 20% visible negative space around them. If you have to stack spatulas three-layers deep to close the drawer, you have too many spatulas for that drawer. Move the surplus to a secondary pantry basket or donate them.
Step 6: The 5-Second Daily Maintenance Habit
Systems only work if they are low-friction enough to maintain when you are exhausted after dinner. Because every category now has its own designated rectangular boundaries, unloading the dishwasher takes 5 seconds per category. Teach household members the simple rule: "Wood with wood, silicone with silicone, metal with metal."
At a Glance: Quick Comparison
| Drawer Organizer Type | Best For | Pros | Cons | Zero-Tool Setup? |
|---|---|---|---|---|
| Modular Interlocking Bins | Everyday utensil & junk drawers | Customizable layout, zero dead space, easy to wash | Requires measuring drawer depth | Yes (drop-in) |
| Rigid 1-Piece Cutlery Tray | Standard silverware (forks, knives, spoons) | Simple, single purchase | Leaves 2-3 inch dead gaps along edges | Yes (drop-in) |
| Spring-Loaded Bamboo Dividers | Deep prep drawers & linen drawers | Adjustable length, high-end custom look | Can lose tension over years | Yes (tension fit) |
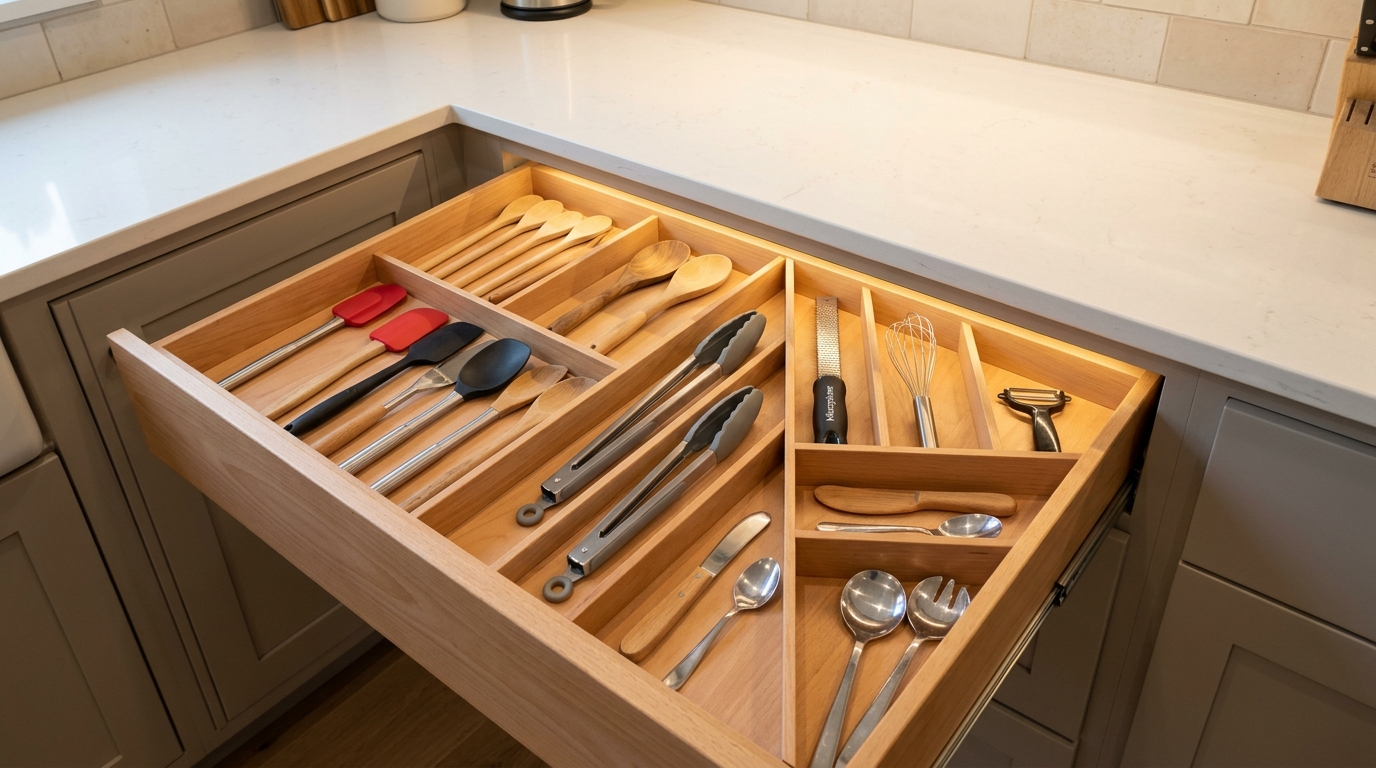
| Diagonal Drawer Inserts | Wide cooktop utensil drawers | Fits long spatulas and tongs easily | Fixed angles cannot be resized | Yes (drop-in) |
| Upright Countertop Crock | Bulky tools (ladles, potato mashers, whisks) | Frees 50% of drawer space | Consumes small counter area | Yes (no install) |
Frequently Asked Questions
How do you organize a kitchen drawer without buying anything?
You can organize a messy drawer for free using sturdy small cardboard gift boxes, smartphone packaging boxes, or clean wooden tea tins. Cut shallow boxes to the height of your drawer, line the bottom with a damp paper towel or leftover nonslip rug pad, and group like items together.
What is the best way to store bulky kitchen utensils like ladles and potato mashers?
Bulky, three-dimensional tools should not live in standard shallow top drawers. Store them in an aesthetic ceramic countertop utensil crock beside the range, hang them from a brass wall rail using S-hooks, or place them in a deep pull-out lower cabinet bin.
How do you stop kitchen drawer organizers from sliding around?
Line the entire bottom of the drawer with a ribbed silicone or rubber non-slip shelf liner before placing your bins. For extra stability, use small clear museum gel dots or reusable silicone nano-adhesive dots on the underside corners of each organizer bin.
Loved this organizing system?
Share it with a friend or pin it to your home inspiration board.
Clara Hayes
Lead EditorHome Organization & Interior Specialist
Clara is a home organization specialist with over 8 years of hands-on experience helping families and apartment dwellers create calming, functional, and clutter-free spaces. She tests every storage system and styling hack in her own home before publishing.
Reader Discussion & Tips
Real experiences and questions from mindful homemakers
Leave a Thought or Tip
Have you tested this routine in your home? Your email address will never be published.