
DIY Rosemary Hair Water: The Complete Guide to Brewing, Using & Storing the Viral Scalp Tonic
Learn how to brew, apply, and store DIY rosemary hair water with Clara Hayes. Discover the clean, all-natural scalp ritual for stronger, shinier hair without chemicals.

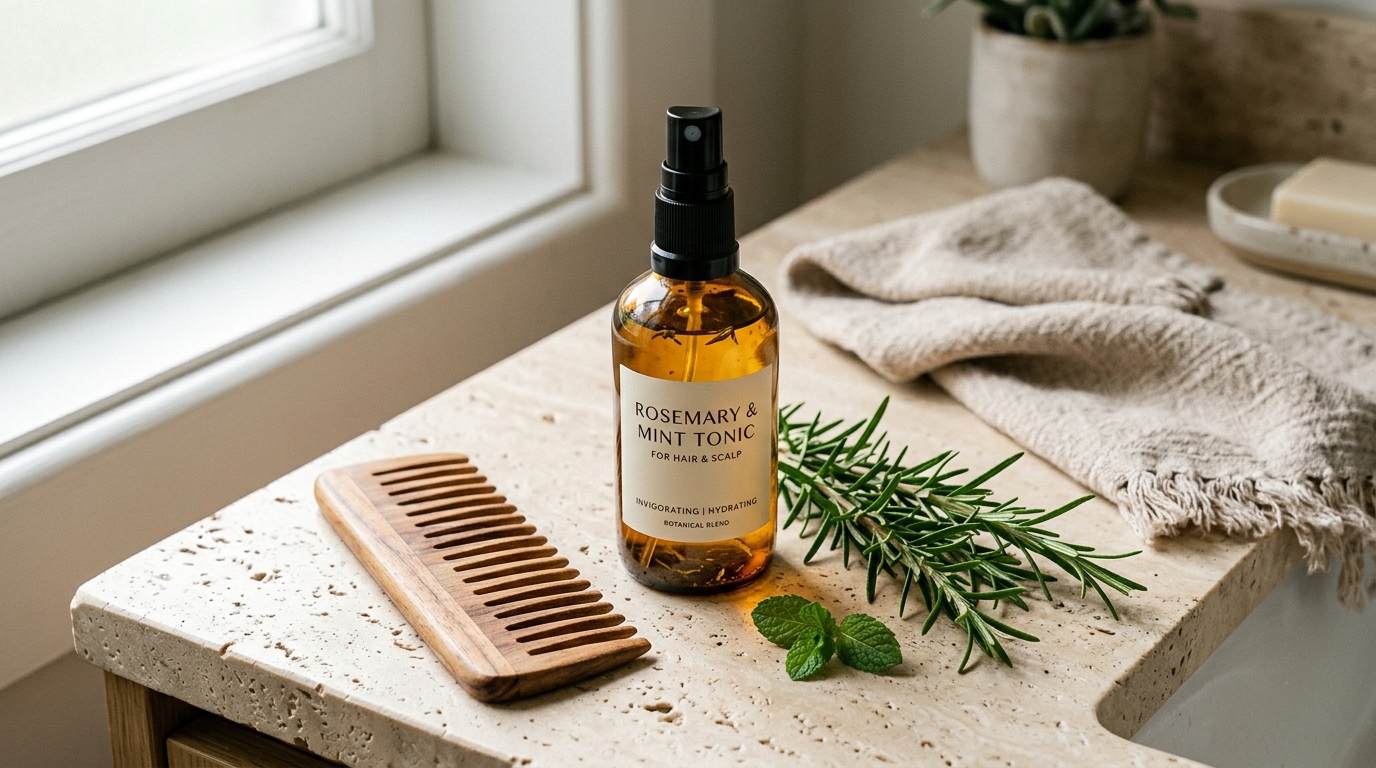
If your social feeds have been filled with glowing testimonials for rosemary water over the past year, you might wonder whether this humble garden herb actually lives up to the viral frenzy. In an era dominated by \$75 synthetic hair growth serums, complex chemical hair systems, and heavy silicone leave-ins that weigh strands down, brewing fresh rosemary hair water at home is a breath of fresh air.
As an advocate for clean living and decluttering toxic products from the bathroom vanity, this botanical tonic has become a permanent staple in my morning self-care ritual. Not only does it cost under \$3 to make a two-week batch, but it leaves your scalp feeling deeply invigorated, reduces flakiness, and adds an effortless, lightweight gloss to your hair without leaving a drop of greasy residue.
Here is your complete, stylist-tested blueprint to making, applying, and properly storing DIY rosemary hair water—plus the critical brewing rules most internet tutorials overlook.
• Unlike commercial hair serums or heavy castor oil, rosemary water is completely water-based—meaning you can mist it daily on roots without washing or greasy buildup.
• Never boil rosemary vigorously; gentle simmering extracts active botanicals while preventing delicate phytonutrients from degrading.
• Because this formula contains zero synthetic parabens or chemical preservatives, it must be kept refrigerated and used within 10 to 14 days.
• Pairing rosemary mist with a 3-minute silicone scalp massage significantly enhances microcirculation and nutrient absorption.
The Botanical Science: Why Rosemary Actually Works
Unlike many fleeting beauty fads, the benefits of rosemary (Rosmarinus officinalis) for hair density and scalp health are grounded in peer-reviewed dermatology research. A landmark comparative study demonstrated that rosemary extract performed comparably to 2% minoxidil in promoting hair count over a six-month trial period, while causing significantly less scalp itching and irritation.
Rosemary leaves are naturally packed with carnosic acid, an active compound shown to heal tissue and improve cellular turnover, as well as rosmarinic acid, a potent anti-inflammatory agent. When applied directly to the scalp, these botanical compounds:
- Stimulate microcirculation around hair bulbs, delivering oxygen and essential micronutrients.
- Calm microbial imbalances, soothing dry, itchy, or flake-prone scalps.
- Clarify excess sebum buildup around follicles without stripping natural moisture.
- Act as a natural DHT-blocker at the follicular surface, encouraging fuller hair density.
The Ingredients & Kitchen Tools You Need
To brew a clean, boutique-grade batch, gather these simple pantry supplies:

- 5 to 6 fresh rosemary sprigs: Choose vibrant, fragrant green sprigs (preferably organic to avoid synthetic pesticide sprays).
- 1 small handful of fresh mint leaves (optional): Peppermint adds natural menthol for an extra cooling scalp tingle and boosts circulation.
- 3 cups of filtered or distilled water: Avoid tap water with heavy mineral deposits, which can dull hair or shorten batch shelf life.
- 1 medium stainless steel or enameled saucepan: Avoid unlined cast iron or aluminum, which can react with botanical plant acids.
- 1 fine-mesh stainless steel strainer and mini stainless funnel.
- One 8-oz dark amber glass spray bottle with a fine-mist trigger.
Step-by-Step Brew Guide: How to Make Rosemary Tonic
Wash and Bruise the Herb Sprigs
The Low-Simmer Extraction
The Essential 45-Minute Steep Cycle
Strain and Bottle in Amber Glass

How to Use Rosemary Water in Your Daily Routine
One of the greatest advantages of rosemary water over heavy carrier oils (like castor or jojoba) is that it leaves zero greasy residue. You do not need to wash your hair after using it. Here are the three best ways to incorporate it into your week:
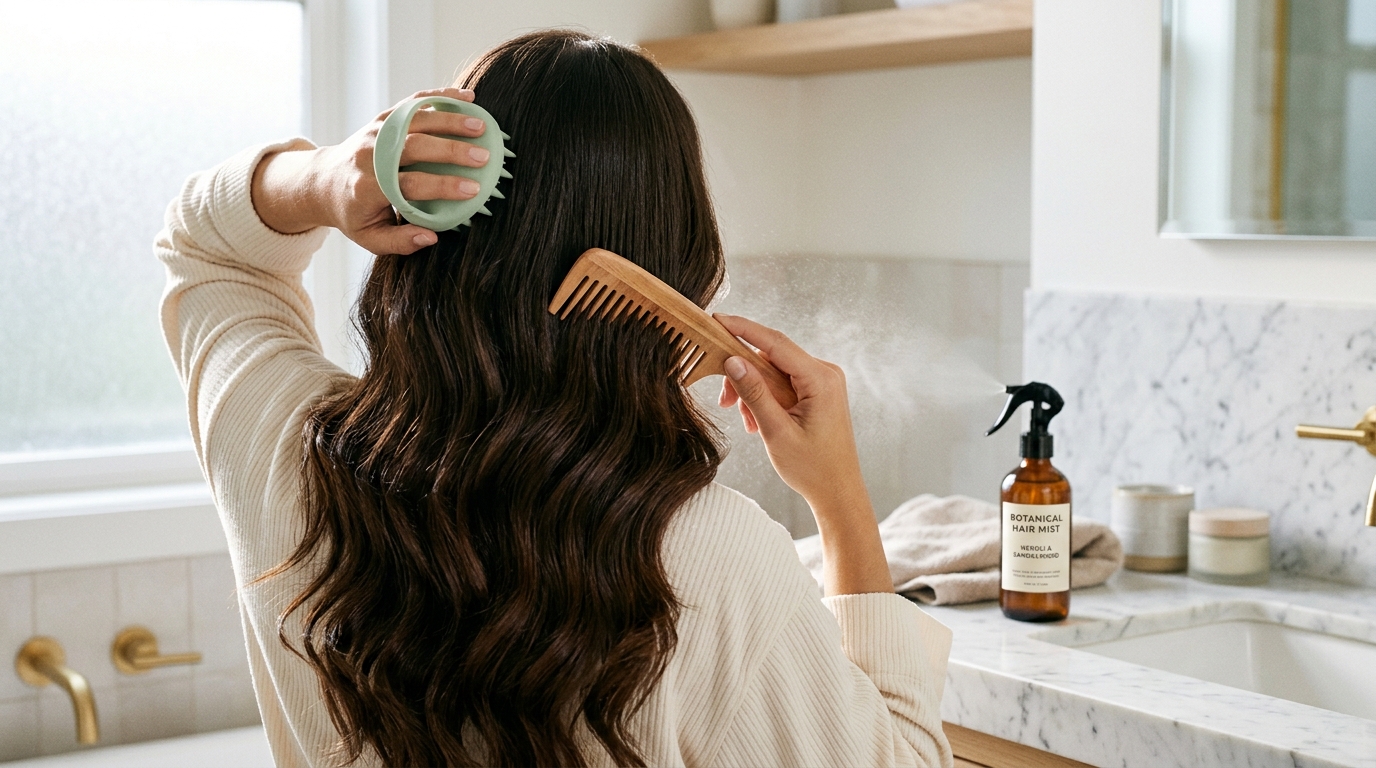
1. Daily Morning Leave-In Scalp Mist (Clara's Favorite)
Every morning after brushing your teeth, part your hair down the center and mist 3 to 4 pumps of cold rosemary water directly onto your roots and along your hairline. Part hair in 1-inch sections on both sides and repeat. Use your fingertips or a soft silicone scalp brush to massage in small circular motions for 2 to 3 minutes. Style your hair as normal—it dries completely clean in minutes with zero stiffness or grease.
2. The Pre-Wash Scalp Drench
On hair wash days, 30 minutes before stepping into the shower, generously drench your entire scalp and roots with rosemary water until damp. Clip hair up in a silk scrunchie or claw clip. The botanical acids help loosen sebum plugs and stubborn product buildup, allowing your clarifying shampoo to clean deeper.
3. The Post-Shower Cuticle Clarifying Rinse
After shampooing and conditioning, pour 1/2 cup of chilled rosemary water over your lengths and scalp as a final clarifying rinse. Do not rinse it out with tap water. The slightly acidic botanical tea seals the hair cuticle, detangles unruly ends, and delivers an incredible mirror-like shine.
Storage Rules & The Refrigerator Trick
Because your homemade brew contains no synthetic chemicals, parabens, or preservatives, it is 100% biodegradable and perishable. Follow these storage guidelines to keep every spray fresh and potent:
- Always Keep Refrigerated: Store your bottle on your bathroom vanity only during your morning 5-minute routine, then return it to the fridge. The cold temperature also feels extraordinarily refreshing on waking up!
- Discard After 14 Days: A batch lasts up to 14 days in the refrigerator. If the liquid ever appears cloudy, smells sour, or forms sediment, discard and brew a fresh batch.
- The Freezer Cube Hack: If you brew a larger 4-cup batch, pour half into a clean silicone ice cube tray and freeze. Every Sunday evening, drop 2 rosemary ice cubes into a clean glass jar, let them thaw overnight in the fridge, and pour into your spray bottle for an instant, fresh weekly supply.
Bonus: The 3-Ingredient Rosemary Scalp Oil Companion
While rosemary water is your daily hydrating mist, a targeted scalp oiling session once a week provides intense deep conditioning. To make Clara's signature vanity scalp oil:
- 2 tablespoons of organic golden jojoba oil (the closest botanical match to human natural sebum)
- 1 tablespoon of organic black castor oil (for rich omega fatty acids)
- 6 to 8 drops of 100% pure rosemary essential oil
Mix in a small 1-oz dropper bottle. Warm 4 to 5 drops between your palms, press into your scalp on Sunday evening, massage thoroughly, and shampoo clean after 45 minutes.
At a Glance: Quick Comparison
| Hair Care Method | Ingredients | Application Frequency | Greasy Residue? | Average Cost |
|---|---|---|---|---|
| DIY Rosemary Hair Water | Fresh rosemary sprigs, mint & filtered water | Daily leave-in mist (am & pm) | Zero grease (water-based) | $0.30 per week |
| Rosemary Essential Scalp Oil | Pure rosemary oil in jojoba or castor carrier | 1 to 2 times weekly (pre-wash) | Requires double shampooing | $1.50 per treatment |
| Commercial Minoxidil Serum | Synthetic minoxidil & alcohol base | Twice daily continuous | Can cause scalp dryness/flaking | $35 – $50 per month |
| Store-Bought Peptide Serums | Water, chemical peptides, preservatives | Daily scalp dropper | Variable (lightweight) | $60 – $95 per bottle |
| Rice Water Scalp Rinse | Fermented rice water & starches | Once every 2 weeks | Must be rinsed out (protein build-up) | $0.50 per batch |
Frequently Asked Questions
Can I leave rosemary water in my hair without washing it out?
Yes! Unlike rosemary essential oil or heavy carrier oils, rosemary water is completely grease-free and lightweight. It absorbs into your scalp in minutes without leaving residue, so you can mist it daily on dry or damp hair without needing to shampoo afterwards.
How long does homemade rosemary water last?
Homemade rosemary water lasts 10 to 14 days when stored in an amber glass bottle in the refrigerator. Because it contains zero synthetic preservatives, always keep it cold and discard immediately if the color turns cloudy or smells sour.
Can I use dried rosemary instead of fresh?
Yes, dried culinary rosemary works well if fresh sprigs are unavailable. Use 2 tablespoons of organic dried rosemary leaves for every 3 cups of filtered water. Fresh sprigs provide a slightly higher concentration of volatile aromatic oils, but dried rosemary retains all active carnosic and rosmarinic acids.
How often should I apply rosemary water for best results?
For noticeable results in hair texture and reduced shedding, apply rosemary water once daily or at least 4 to 5 times per week. Consistency over 3 to 6 months is key to seeing visible follicular benefits.
Loved this organizing system?
Share it with a friend or pin it to your home inspiration board.
Clara Hayes
Lead EditorHome Organization & Interior Specialist
Clara is a home organization specialist with over 8 years of hands-on experience helping families and apartment dwellers create calming, functional, and clutter-free spaces. She tests every storage system and styling hack in her own home before publishing.
Reader Discussion & Tips
Real experiences and questions from mindful homemakers
Leave a Thought or Tip
Have you tested this routine in your home? Your email address will never be published.